Showing posts with label tutorial. Show all posts
Showing posts with label tutorial. Show all posts
Monday, 20 December 2010
Aquamarkers video tutorial
Well I think Sarah at Hotshotcrafts liked the first video tutorial I did for her using Tim Holtz Distress Inks. You can see it here
She asked me to do another one, this time showing how to use Aquamarkers by Letraset. They are available at £8.50 for a box of 5 or £15.99 for a box of 12. She also has the Bockingford watercolour paper, ink pads and Kanban stamps too
Here is the video. I hope you like it. Again any feedback positive or negative would really be appreciated
hugs Sarah x
Friday, 3 December 2010
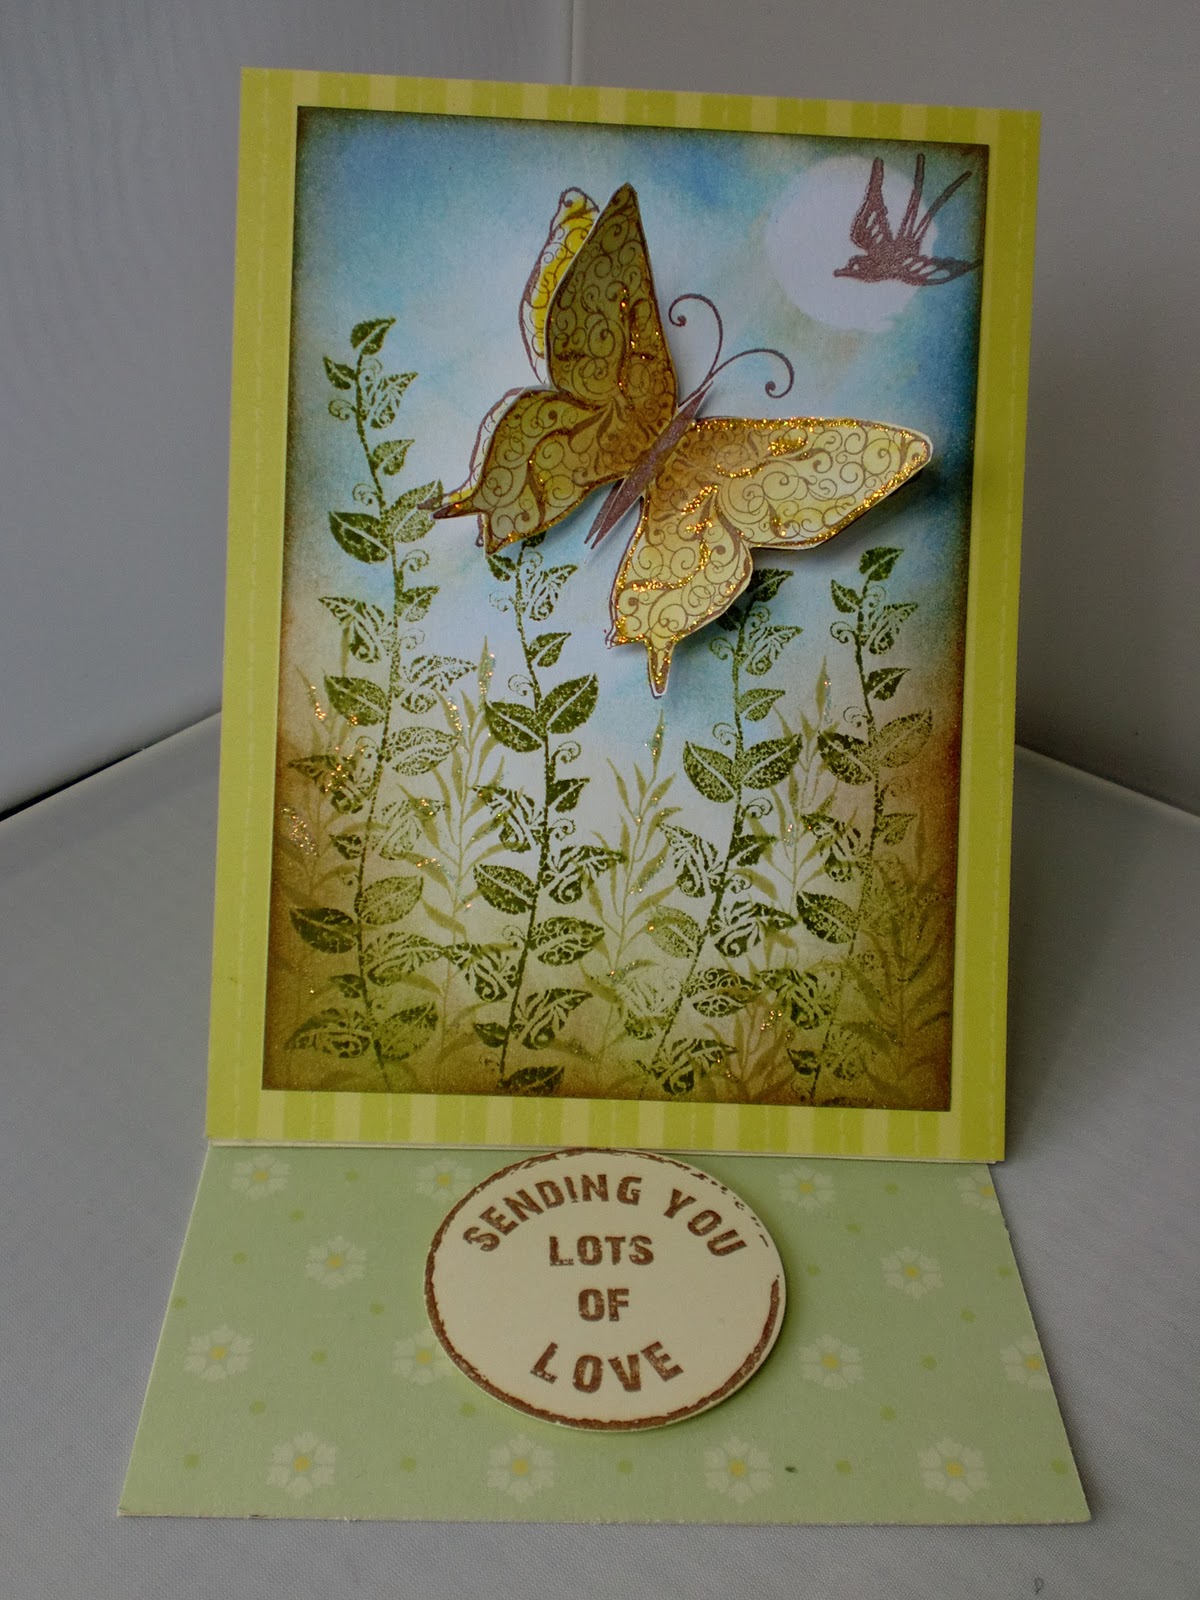
Distress Inks Butterfly card
I hope you enjoyed my video tutorial on Distress Inks .
Thank you so much for the feedback. Some of you mentioned that the sound wasn't to good. I will see what I can do about that to improve it for the next video.Here is another card I have made.
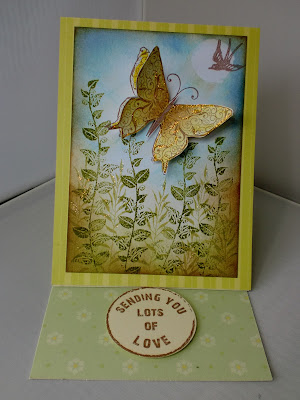


 On this card I have stamped the Butterfly twice, coloured it with Distress Inks, decoupaged it and added Gold Stickles
I used a cheap, thin card stock for the Butterfly. The distress inks helps curl the petals slightly as it dries and as you walk past it and cause a draft the wings flutter a little.
So do you like this card?
Thank you for taking the time to look and leave a comment
hugs sarah x
Thank you so much for the feedback. Some of you mentioned that the sound wasn't to good. I will see what I can do about that to improve it for the next video.Here is another card I have made.


I used a cheap, thin card stock for the Butterfly. The distress inks helps curl the petals slightly as it dries and as you walk past it and cause a draft the wings flutter a little.
So do you like this card?
Thank you for taking the time to look and leave a comment
hugs sarah x
Thursday, 18 March 2010
Part 2 of tutorial: Promarkers on shrink plastic
Digital image on Shrink plastic and coloured with Promarkers.
1. I have also printed the image directly on to Shrink plastic. Be careful when handling this though as the ink stays wet.

2. Colour in the image taking care not to touch the print as it will smudge. Your colouring with Promarkers doesn't have to be good here! Don't use very dark colours as the colours you use intensify when the image is shrunk. Punch a hole in the Shrink plastic if you wish to attach it to your project with a brad or to thread ribbon through.

3. Finally shrink it with a Heat gun. You now have a small "tile" to attach to your project

Wednesday, 17 March 2010
Decoupage with a digital image
I recently did a tutorial for Passion for Promarkers.
If you never saw it on their blog you can catch it here. I will post the second part of the tutorial tomorrow.
Decoupage using a Digital image
If you never saw it on their blog you can catch it here. I will post the second part of the tutorial tomorrow.
Decoupage using a Digital image
Decoupage is still very popular and can be done easily with rubber stamps. You can also decoupage with Digital images. This tutorial will show you how to do it easily.
The image I have used is Whimsical Girl Heart Garden from Bee Crafty.
1. First I printed the image 4 times using Photo Printing Wizard onto good quality white cardstock ( about 250 gsm)

2. I then coloured one image with my Promarkers. My 2 main colours are Mango and Bright Green. This isn't necessary as this is the base image which will be layered but I think it gives a more professional look.
3. I then cut out the image, in this case using a Nestability die.

4. I have then coloured and cut out various parts of the image from the remaining 3 images.

4. Here is a close up of the cut out images.

5. If you don't have many Promarkers and want to use shading on your images you can go over your colouring with the same colour to deepen it. In this case I have gone over the Mango with the same Mango pen on the left side of the image. I have done the same with the Bright Green. This will give the shaded effect

6. I have layered the pieces on top of each other with foam pads.

7. Next I have used Glossy accents over the heart shape flowers and sprinkled tiny yellow accent beads. The Glossy accents is clear and will act as a glue to hold the beads in place.


And there you have a decoupaged image made from a digital image.
I would love to read any comments you may have
Love Sarah XXX
Tuesday, 16 February 2010
Tri- Shutter card Tutorial

One or two asked for a tutorial. So here it is. And it is EASY.
The basic item you will need are
- scoreboard
- ruler
- craft knife
- pencil
- bone folder
- Cardstock 6" x 12" ( I use 1 piece of scrapbook cardstock and cut it in half.. I can now make 2 Tri-shutter cards)


2. Turn the card a quarter turn and measure 11/2" top and bottom ( this is at the 2" and 10" scorings) as in diagram. I have joined these 2 markings with a red pen. Cut along these lines.


5. Your card is now ready for you to embellish.

I would love to hear how you get on with this and would love to see your creations
Love Sarah XXX
Thursday, 7 January 2010
Grungepaper flower tutorial


For those of you who follow my blog you will know that I have said that I will be posting some exciting tutorials. Well here is the first one a flower made from Grungepaper which I bought from Craft Obsessions. It is used by the amazing Tim Holtz who does a lot of altered art. I had the opportunity to watch the man in action at the Trade show at the NEC last year, courtesy of Hotshot crafts. Thank you Sarah. I had a great day there.
This paper is amazing if you haven't come across it yet. Don't mix it up with Grungeboard which is thicker. This paper wont tear or rip but you can cut it with scissors or use it in a Die cutting machine. I use Sizzix Big Shot.
You can also colour it with ink pads, distress inks, stamp on it, emboss it and shape it.
First though I must state that the actual flower tutorial is not my idea. I have merely taken it a step further. The original tutorial is by the amazing Michele Roos.
Below is also a picture of the paper flowers I have made following this tutorial .

 At the top of this post are pictures of the flower made with the Grungepaper
So now for the tutorial. There are quite a few pictures to help you through, but it is very easy and I am sure you will agree very affective.
1. The items you will need
 2. Using Sizzix flowers die cut out 2 large and 4 small flowers. Draw a circle about the size of a 5p in the middle of each one.
 3. I have distress inked both sides of the flowers with a lighter shade of green.
 4. I then go around the edges with a darker shade, again on both sides.
 5. Stamp whatever you wish onto the flowers. I stamp only on one side and I use Versafine ink. I have used a flourish stamp but a sentiment stamp would be nice too.
 6. Cut each petal down to the circle you drew on it earlier.
 7. Curl the petals. I use Joanna Sheen long tweezers, but you could use a cocktail stick, or pencil. the grungepaper shapes easily.
8.Turn the flowers over and do the same with the other side of the petal

9. Punch a hole in the center of each flower and layer them up as shown
 10. Fix with a brad.

11. You could add Stickles glitter for mare sparkle.
12. You could also add a brooch fitting on the back so that you can wear you creation.
13. Why not attach it to a hat, handbag, pair of shoes or necklace.
If you have other ideas let me know.
So there it is. What do you think?.
It doesn't take long to make. putting on this tutorial took longer than making it!!!!
If you have a go or have any questions let me know. I would love to see your creations.
Love Sarah XXX
p.s. keep checking back for more tutorials or join my list of followers so that you don't miss out
Subscribe to:
Posts (Atom)